How to train dog to stay? is one of the important obedience training. Let’s walk through everything you need for mastering dog stay training, no matter your dog’s age or experience.
Importance of Teaching the Stay Command
The stay command isn’t just a trick, it can actually keep your dog safe. Think about your dog waiting calmly at the curb instead of running into traffic, or staying on their bed while guests walk in. Teaching your dog to stay gives you more control when things get hectic and helps your dog feel more relaxed about what to do.
It’s super helpful during grooming, vet visits, or when you need to keep your dog away from danger, like sharp glass or hot stoves. At my house, stay training made a huge difference, no more chasing my dog when the front door opened, and no more begging at the dinner table. It even helped with calming down their jumpy behavior.
“Stay” is one of the most important commands for real life. With a little practice and patience, it becomes a powerful tool to keep your dog safe, calm, and well-behaved.
Understanding the Difference: Stay vs Wait Commands
People often mix up “stay” and “wait,” but they aren’t the same. Teaching a dog the stay command means your dog holds a specific position (sit, down, or stand) until you come back and release them. In contrast, “wait” is more of a pause, like holding at a doorway before being allowed through.
Stay means total stillness until released, while wait is a shorter, less strict pause. For example, I use “wait” when I’m grabbing the leash, but “stay” when I need my dog to freeze completely, like during vet visits or busy sidewalks. Knowing when to use each helps clear up confusion and keeps your dog confident about what you want.
Supplies and Preparation for How To Train Dog To Stay
You don’t need a mountain of gear to start dog stay training, but having a few basics makes the process smoother. Here’s what helps most:
- Small, tasty treats (think soft, easy to chew, and low-calorie)
- A clicker (optional, for positive reinforcement dog stay methods)
- A quiet spot with minimal distractions to begin
- Leash and harness for early sessions or training outdoors
- Patience, lots of it!
Keep training sessions short and fun, about 5 to 10 minutes is perfect. This helps your dog stay interested and makes sure you both enjoy the time together. Long sessions can be tiring and frustrating, so it’s better to stop while your dog is still having fun and doing well.
Step-by-Step Guide: How to Train Your Dog to Stay
Step 1: Start with a Reliable Position
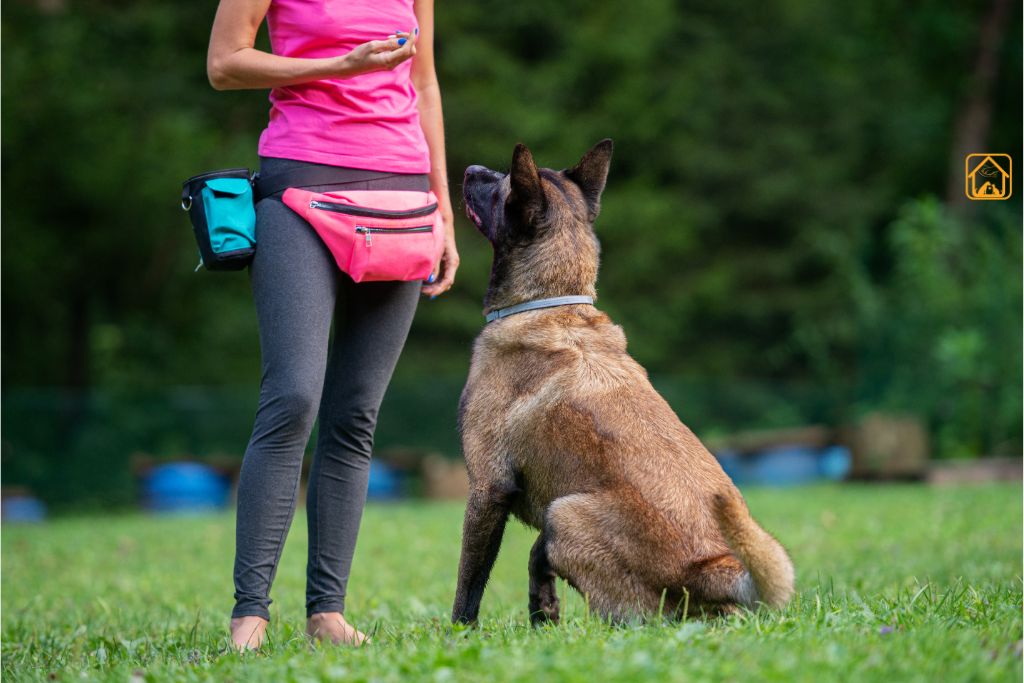
Begin by asking your dog to sit or lie down whichever is more comfortable for them. It’s important your dog is calm and not overly excited at this point. A calm body means a focused mind.
Step 2: Introduce the Stay Command
Say “stay” clearly and hold your hand up with your palm facing your dog like a stop sign. This will become the visual cue they recognize. Wait just 1 or 2 seconds, then praise and give a treat. Release them with a word like “OK” or “free” so they know the stay is over. In the beginning, the goal is success, not long stays.
Step 3: Build Duration Gradually
Gradually increase the time your dog holds the stay. If your dog breaks position, no worries, just calmly guide them back and try again for a shorter time. The goal is to create wins and boost your dog’s confidence.
Step 4: Add Distance
Once your dog can stay in place for about 10 seconds, try taking one small step back. Return, reward, and release. Don’t rush this step. Add more distance over time, step by step. Always come back to your dog before releasing them. This teaches them to hold position no matter where you go.
Step 5: Layer in Distractions
Now that your dog can stay for 20–30 seconds, it’s time to add distractions. Try simple things at first like clap your hands, roll a toy nearby, or have someone walk past. If your dog breaks the stay, just reset calmly and reduce the distraction.
Step 6: Generalize to New Environments
Dogs don’t automatically know that “stay” means the same thing everywhere. Practice in different rooms, outside, during walks, or when friends are around. In new places, go back to shorter times and smaller distances until your dog adjusts.
Tip: Keep notes or use a simple stay chart to track how long your dog can hold the stay. Progress isn’t always in a straight line and that’s okay.
Using Hand Signals and Release Words Effectively
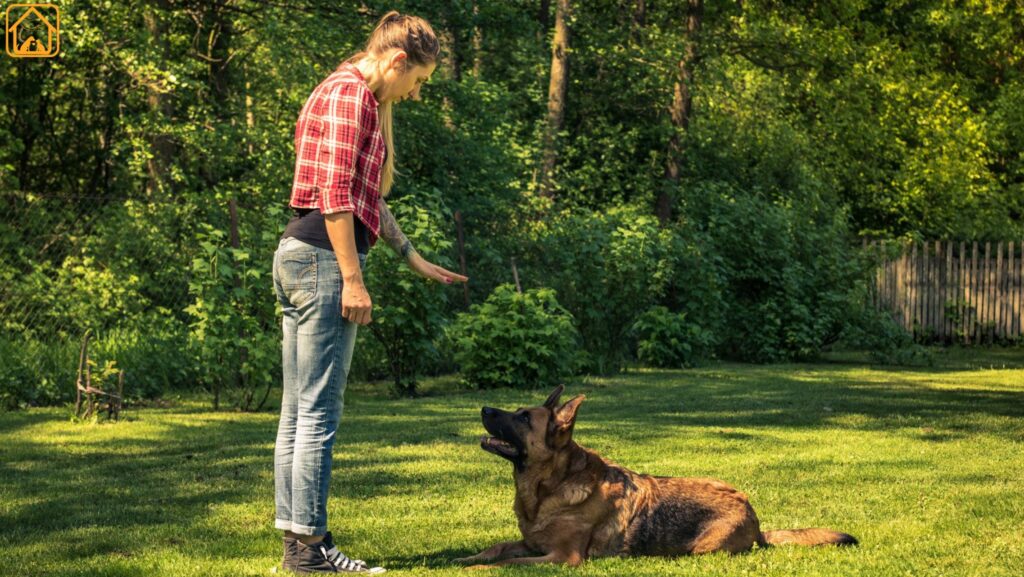
Dogs notice your body language before your words. Using hand signal for stay, like an open palm, makes your command extra clear. Pair this with your verbal cue every time. The release word is just as important, it’s your dog’s green light to move.
Be consistent (“okay,” “break,” or any word you pick) and only use it to end the stay. Honestly, I once used “okay” too casually and found my dog popping up at the wrong times. Stick to a word you don’t use in everyday conversation, and make sure everyone in the house uses the same one.
Building Duration, Distance, and Distractions (The Three Ds)
How to Gradually Increase Duration
Start with just a second or two, then slowly add more time. Reward your dog while they’re still staying, not after they break position. This keeps the stay itself rewarding.
Adding Distance
Take a single step back, then return and reward. As your dog succeeds, take more steps away. Always return to your dog before releasing, so they learn to wait for you.
Introducing Distractions
Begin with simple distractions, like tossing a soft toy nearby or having someone walk past. If your dog struggles, make it easier again. The key is slow, steady progress, don’t rush combining all the Ds at once. A stay training step by step approach helps your dog stay confident and successful.
Stay Training for Puppies, Seniors, and Different Environments
Stay training works a bit differently depending on your dog’s age and where you’re practicing. For example, Puppy stay training takes patience, since young dogs are easily distracted. Keep training sessions very short, just a few minutes and give lots of rewards when they get it right. Make it fun and light so they don’t lose interest.
Senior dogs, on the other hand, may move more slowly or have joint pain. Make sure they’re on soft surfaces and avoid asking for long stays if they’re uncomfortable. A little patience and a lot of praise go a long way with older pups.
In new environments, always lower your expectations at first. Training indoors vs outdoors may need different rewards or distances. I remember training my old Labrador in the backyard, it got distracted a lot due to the squirrels but returning to basics helped him focus again.
Troubleshooting & Common Mistakes in Stay Training
Even the best pet parents hit bumps. Here are common stay training mistakes:
- Going too fast, don’t rush adding duration or distance
- Inconsistent release words (everyone needs to use the same one)
- Rewarding after the dog moves, not during the stay
- Using the stay command when your dog isn’t ready
- Punishing mistakes, instead, just reset and try again
If your dog keeps breaking the stay, take a step back in training. Sometimes a small change, like using a higher-value treat or moving to a quieter area, makes all the difference. Stay positive and celebrate progress, no matter how slow.
Advanced Stay Training: Off-Leash, Public Places, and Home Alone
Once your dog is doing well with basic stay commands, it’s time to level up. Advanced stay training helps build your dog’s self-control and independence, even when you’re not right next to them.
Off-Leash Training: Start this only in safe, enclosed areas like a fenced yard. You can use a long leash at first for backup, just in case your dog gets too excited or distracted. Always keep sessions short and positive. Praise them when they succeed, and if they make a mistake, simply reset, no need to scold.
Public Places: Try places like parks or quiet sidewalks. Begin with low-distraction areas and slowly introduce more activity, like people walking by or other dogs nearby. This teaches your dog to focus even when the world is busy around them.
Home Alone: When working on staying home alone, build up their confidence gradually. Start with a few minutes and add more time as they get used to it. Leaving a favorite blanket or toy can help, and I’ve found that placing an old T-shirt with your scent really comforts anxious dogs.
Advanced stay training takes patience, but it gives your dog confidence, keeps them safe, and gives you peace of mind in everyday life. For deeper understanding on How to train dog to stay refer to stay training.
FAQs About How To Train Dog To Stay
How long does it take to train a dog to stay?
Most dogs start to understand the stay command within a week or two, but mastering longer stays with distance and distractions can take several weeks or more. Consistency and patience are key, celebrate small wins along the way!
What’s the best release word for stay training?
Pick a word you don’t use often in daily conversation, like “free,” “release,” or “break.” Use it consistently so your dog knows exactly when they’re allowed to move. Avoid common words like “okay” if possible to prevent confusion.
Can I teach an older dog to stay?
Absolutely. Senior dogs can learn the stay command, though you may need to adjust for any physical limitations or hearing loss. Use gentle touches, louder cues, or even visual signals if needed. Keep sessions short and positive.
How do I handle stay training with distractions?
Introduce distractions slowly, starting with mild ones (like a toy nearby) and only increasing difficulty as your dog succeeds. If your dog struggles, make the exercise easier and reward even brief stays. Practice in varied environments for best results.
What’s the difference between the stay and wait commands?
Stay means your dog remains in a specific position until you return and release them. Wait is a temporary pause, like holding at a door or waiting for food. Stay is for longer, more controlled situations, while wait is for short delays.
How can I practice off-leash stay training safely?
Always start off-leash stay training in a fenced or secure area. Use a long training leash as backup at first. Build up reliability with the leash on before removing it, and only practice in safe locations where your dog can’t run into danger.
My dog breaks the stay as soon as I move. What should I do?
This is common! Go back to a shorter duration or less distance. Reward your dog for holding the stay even as you take a tiny step back. Gradually build up, and avoid punishing mistakes, just reset and try again with lots of encouragement.
Can I teach my dog to stay home alone without barking?
Yes. Combine stay training with gradual departures, rewarding calm behavior, and providing comfort items. Practice short absences first, increasing time slowly. If barking continues, consider consulting a trainer or behaviorist for personalized tips. For both simple solutions and tricky cases, refer to our guide on how to stop dog barking, it’s packed with practical tips to help you regain peace and quiet.
Conclusion
Teaching your dog to stay is more than just a trick, it helps keep them safe and calm. No matter your dog’s age, stay training builds trust and good behaviour. Take it slow, be patient, and enjoy seeing your dog listen better at home, outside, and in new places.